
Aren't they beautiful? Those, my friends, are the result of a few hours work. :-) I love it when you can make something that is both yummy and beautiful! What are they? They are pickled beets. Did I just lose you? Did you gag a bit when I said that? I hope not!
Canning and pickling go back hundreds on years, and yes, it is a tradition still carried on by some. It is nice to know you can grow your own veggies and be able to keep them through the winter and into the next few years. Come and get me bad economy...watch me ROAR! Ok, enough of that.

My little man's grandparents gave us some of thier garden produce: beets, green beans, and zucchini. (THANK YOU!) Their garden is producing a few weeks ahead of our meager patch. (Yes, I call it a patch, it is small and right now seems to have more weeds than veggies.) We thought the beets may have been past thier prime by now, but we slavaged enough for a small batch of canned beets. They gave me this whole box, and that is where it all began.

I then had to track down the recipe from my mom. Moms can be a wonderful thing, and mine is no exception (I am actually doubly blessed). I call her sometimes, even when I have the recipe, cause it is more fun hearing it from her.

This is it boiling and smelling fantastic! It smells so sharp and spicy.

Meanwhile, here is me, cutting up all the beets, taking out those that are too far gone to use. (Aka. they get woody.) Beets really are a beautiful root veggie.


I then had to track down the recipe from my mom. Moms can be a wonderful thing, and mine is no exception (I am actually doubly blessed). I call her sometimes, even when I have the recipe, cause it is more fun hearing it from her.
Here is the recipe:
2 c. sugar
2 c. water
2 c. water
2 c. vinegar
1 tsp. Cloves
1 tsp. Allspice
1 Tbl. Cinnamon
Mix all the dry ingredients together in a suacepan and then add some liquid to form a paste. Gradually add the remaining wet ingredients, place on burner and bring to a boil. Boil to mix and then pour hot liquid over beets.

This is it boiling and smelling fantastic! It smells so sharp and spicy.
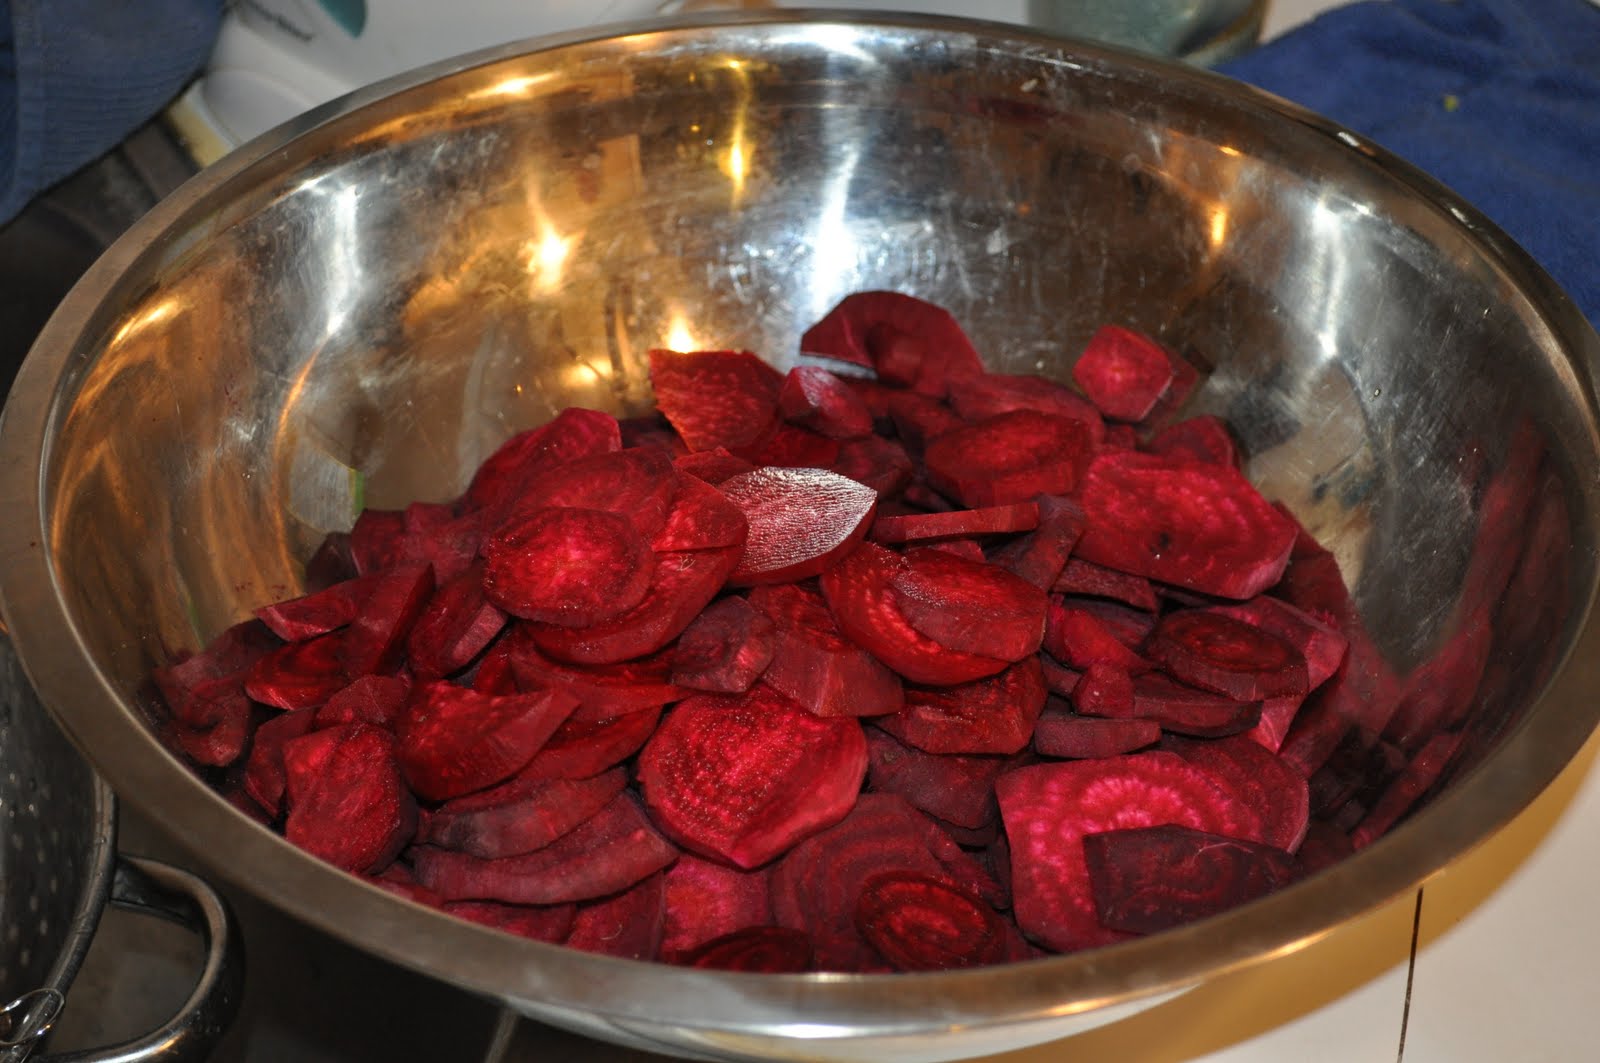
Meanwhile, here is me, cutting up all the beets, taking out those that are too far gone to use. (Aka. they get woody.) Beets really are a beautiful root veggie.
And yes, they will dye your fingers. However, a few hand washings and a shower later...its all gone. :-)

So after they are sliced, I pack them into rinsed out pint jars. (The little round piece you see is the weight for the pressure canner.) I had enough for five pints. Which ended up being exactly how much liquid I needed to fill them up!

I boiled the lids and then put them on the jars. Lids and then rings.

Yeah! In about and hour they will come out looking all lovely. I put them in the pressure canner and let them boil, boil, and boil some more. There is a small opening on the lid of a pressure canner that lets out steam. I have to wait until there is a constant stream of steam (say that three times fast) and then time it for 7 minutes. After 7 minutes, I put the weight on. Then I wait until the weight starts jiggling, and then I time it for another 25 minutes. After that you are done and you can let it cool!

Now we can either save them or eat them! I might just open up a jar when I get home. Yum, yum!

Now we can either save them or eat them! I might just open up a jar when I get home. Yum, yum!
Comments